DIY: How to Install Stone Veneer
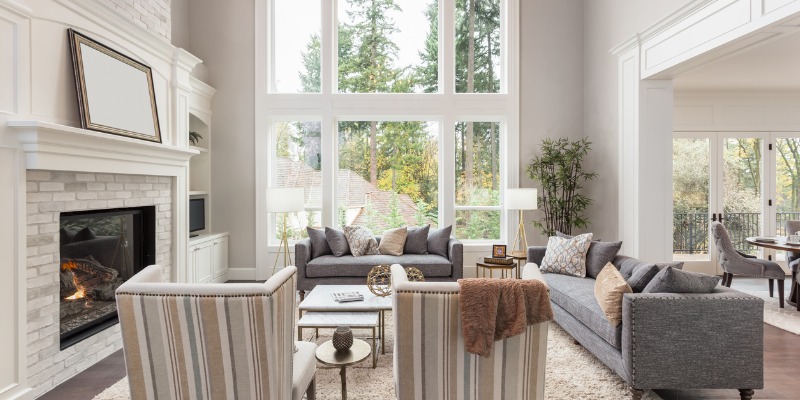
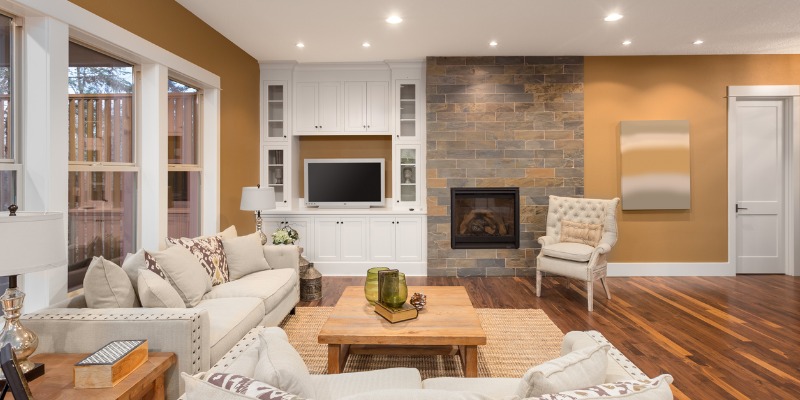
Stone veneer is a beautiful addition to the outside of your home, your fireplace or an accent wall. Plus, it’s a relatively simple DIY project you can complete in a weekend. There are few projects that you can do yourself that have such a tremendous impact on your space. Follow these tips to get the stone veneer look for yourself:
Materials You’ll Need
- Stone veneer
- Weather-resistant barrier
- Metal lathe board and roofing nails
- Measuring tape
- Saw (hand or circular)
- S-type cement, ideally premixed with a bonding agent
- Cement mixer
- Safety equipment, gloves and goggles
- Trowel
- Stiff brush
How to Install Stone Veneer
- Prepare the surface: If you’re working with drywall or another material inside of the home,you’ll need to adhere sheets of metal lathe over the entire area that is to receive the stone. Metal lath should be galvanized and anchored into something structural so that it can hold the weight of the stone. Secure the lathe with roofing nails.
- Mix the cement: Follow the manufacturer’s instructions to mix your cement or mortar. While many can be mixed by hand, it’s more efficient to use the cement mixer. Make it in small batches so that it does not dry while you’re still applying it.
- Apply scratch coat: The “scratch coat” is a half-inch coat that you apply over the metal lathe. It helps the stone adhere to the wall. Be sure you get the coat right against the surface behind the lathe. Don’t leave any gaps and get in the holes of the lathe. Once it has all been applied, use the stiff brush to add thin horizontal lines to the whole area. This texture helps the stone stay in place.
- Add your stone: Starting from the most challenging spots, such as corners and mantels, apply your stone. It can be easier tomatch the stone and get the right pattern when you have several stones laid out to choose from. Once you’ve chosen your stone, wet the scratch layer and press the stone in. Gently wiggle it to create a bond.
- Add mortar: Once all of the stones have been added you add to add the mortar between them. It can be helpful to use a squeeze bag for this. It’s like an icing piping bag but bigger and made for cement. Be sure to wipe any mortar from the front of the stone when you’re done.
Are you looking to upgrade your home? A stone veneer is a task you can handle on your own and it can improve the look of your home. The experts at Grand River Natural Stone can help you get the right materials for your DIY project.
Sources: