Your Complete Guide to Installing Brick Veneer
As Beautiful as Full-size Brick
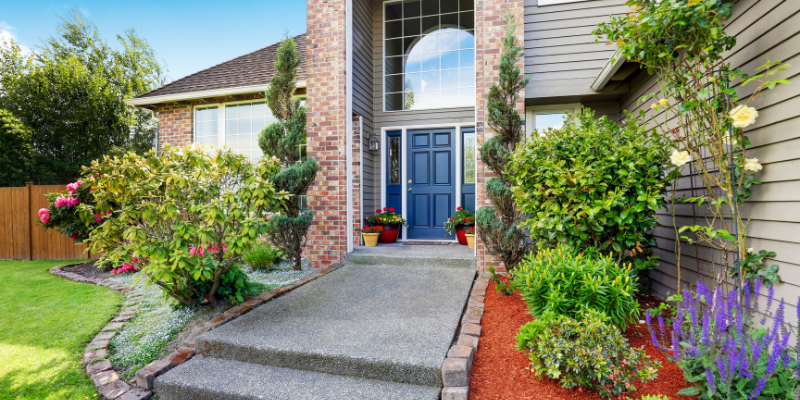
Considering the aesthetics, durability and affordability of brick veneer siding as compared to real brick, veneer siding is often a winner.
In terms of appearance, anyone would be hard-pressed to tell the difference between full-size brick and brick veneer once installed and pointed with mortar. Also,
It lasts as long as brick when installed correctly, and offers significant savings.
At Grand River Natural Stone Ltd. we offer a beautiful selection of both Brick Veneers and Full Size Brick. Come in and allow us to show you what we have. Our experienced and knowledgeable staff are always on hand to help you.
Use an Experienced Installer
Correct installation, however, is vital if brick veneer is to stand the test of time. Shortcuts may lead to problems from moisture ingress or thermal flexing throughout the seasons. Although installing brick veneer requires less skill than bricklaying, insist on an installer who has significant experience with the product.
If you will be doing the installing, be certain that you follow the directions provided, carefully.
Step 1: Stripping Off the Old Siding
Unless the exterior of your house is concrete (or this is a new construction home), siding must be removed in order to expose the sub-siding, which is usually OSB or plywood sheathing. On top of the sub-siding, there should be an existing moisture barrier.
In modern construction, a high-density polyethylene sheet is used for the moisture barrier, but older homes may be wrapped with asphalt-impregnated paper. Whatever the material is, as long as it is in good condition, it can remain in place. If there is no barrier, one must be added.
Before continuing with additional layers, stainless steel flashing is installed at the bottom edge of the sub-siding. It is placed under the moisture barrier. The bottom of the flashing must have a clearance of 2 inches if it is above pavement or 4 inches if above soil.
Step 2: Preparing the Remaining Layers beneath the Veneer
If you desire to increase the amount of insulation in your home’s exterior walls, a layer of closed-cell foam insulation can be attached to the sub-siding at this point. This step is optional, but very common.
Whether or not you add insulation, the next layer must be a special mesh material called a drainage mat or weep. The drainage mat provides an escape channel for any moisture that penetrates the veneer, adhesive and lath layers.
The next layer outward from the drainage mat is a metal mesh with diamond-shaped holes, called lath, to which the first coat of mortar will be applied. The mesh should be galvanized to prevent rusting. It is critical that it be fastened securely to the wall studs beneath the sub-siding, not to only the sheathing. Depending on whether the wall studs are wood or metal, barbed nails or metal-cutting screws hold the mesh in place.
Step 3: The Parge Coat
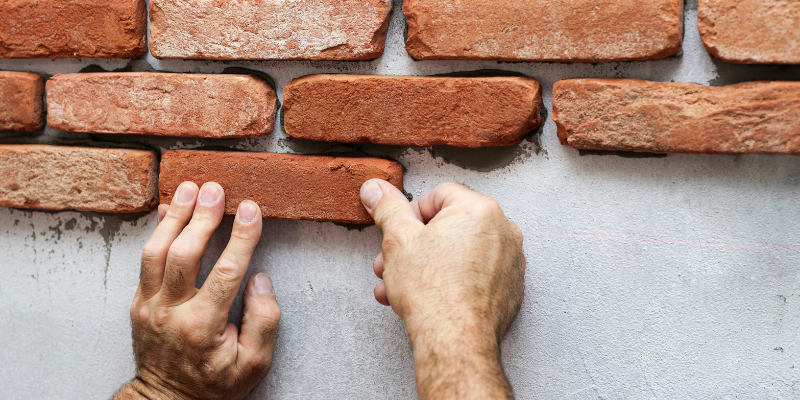
Once the metal mesh is in place, the next step is to add a parge coat of mortar on top of it. After that coat is set, another thinner layer of mortar is applied. It is this layer to which the brick veneer adheres. Special mortar additives can increase adhesion, but these are optional.
Estimating Costs
The fundamental cost of replacing siding with brick veneer will be based on the number of square feet to cover. After that, there are several variables that enter into the equation.
For instance, some types of siding may cost more to remove and dispose of. Labour costs will be higher for multistory homes. Material waste and labour varies depending on the number of corners, doors and windows that must be worked around.
Come into Grand River Natural Stone Ltd. or give us a call. We are happy to help you put together a materials list and give you a quotation.