How to build stone steps at home
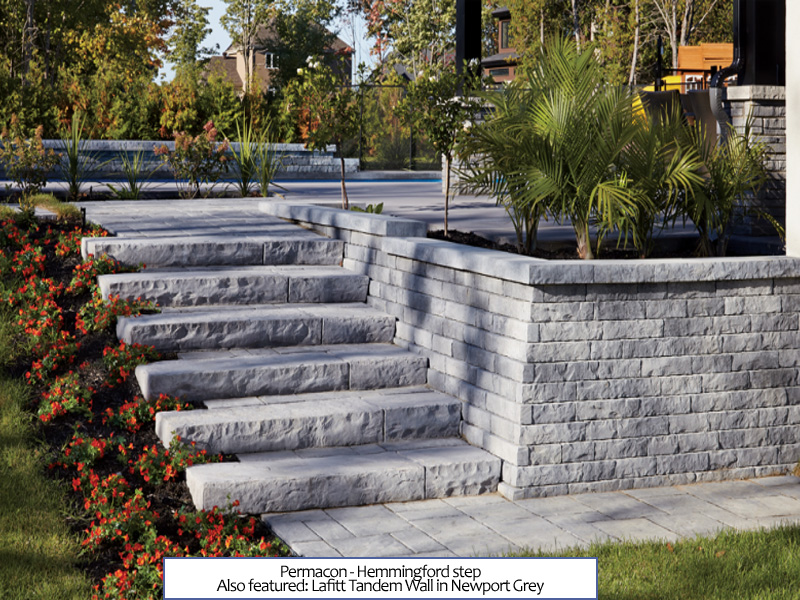
Replacing worn-out steps (or a slippery slope at the front or side of your house) with attractive stone steps provides a more inviting entry into any outdoor space.
They improve your home’s curb appeal and make walking through the yard easier and safer for older family and friends.
With basic tools and materials, a little patience and the proper application of brawn, you can build a beautiful set of rugged stone steps yourself.
It only requires a small slope on your property. Experienced DIY’ers can complete a set of steps over the weekend, as long as you make a few decisions and calculations beforehand.
Follow these steps and build your gorgeous new stone steps this weekend.
Figure out the stones you need
To determine the number of stones you need and how big they should be, follow these general guidelines:
- Keep step depth between 12” and 18”.
- Choose stones between 6” and 7” thick for ideal rise.
- Plan to make the bottom step wider than the others. It just looks better.
- Estimate the number of steps first. Divide the total distance your steps must travel, or run (r¹), by an average step depth of 14”. Round to the nearest whole number to get the step estimate (r¹).
- Calculate the average riser height. Divide the total rise (r²) by r¹ to get the average riser height (r²). If r² is less than 5”., increase the run of each tread and recalculate. If r² is greater than 7” in., increase the total run (r¹) by adding an extra step.
Once you have your measurements, you can buy your stones.
At the same time, pick up your A-gravel and bedding sand. You need about 4”-6” of A-gravel and ½” to 1” of bedding sand base per step (we can help you figure out your total order size).
Once you have your stones and bedding sand, you can get to work!
Carve your steps one at a time
Carve out space in your slope for each stone individually.
Lay a base A-gravel at least 4” thick for each stone, and level your base with ½” – 1” of bedding sand before placing the stone down with a very slight forward pitch (so water will run down the steps, not collect at the seams of each step where it can freeze and cause damage).
Some tips for laying your steps:
- Start the first step just before the slope begins.
- Overlap each stone by at least 1”.
- You can use stone chips to shim your steps close to level.
- End your steps just below the top of the slope for a nice, smooth transition.
It’s a surprisingly easy and forgiving project. If you lay a step and your level tells you it’s way off, simply add bedding sand, dig out the base more or even chisel away some of the rock’s surface features.
In a weekend, you’ll have a beautiful new addition to your landscape that friends and family will love.
Pick up your supplies from your nearest Grand River Stone location and get started as soon as you can!