Installing Stone Veneer Over a Brick Fireplace
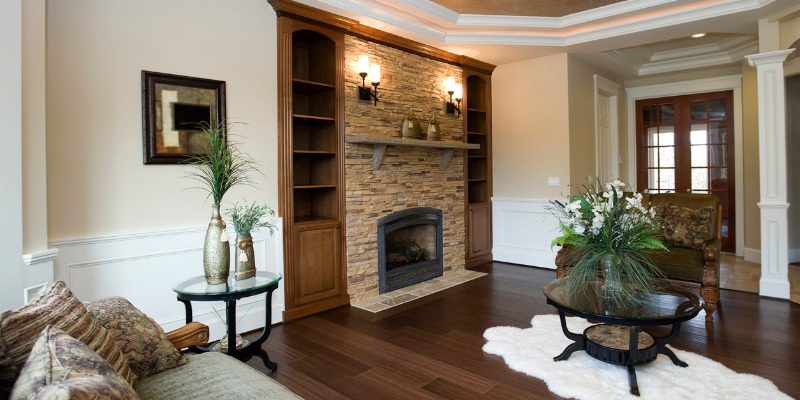
Stone is the in-vogue material for many interior décor styles right now, but what do you do if you have a pre-existing brick fireplace? Don’t worry, you won’t have to rip it out and start fresh. Instead, you can install a stone veneer right over top of the brick, getting the look you want without the mess of a total rebuild. Here’s how to install a stone veneer over a brick fireplace.
Materials and Tools You’ll Need
Some of the tools and materials you may need include:
- Stone veneer of your choice
- Trowel
- Pointing tools and grout bags
- Clean container for your mortar
- Metal Lath or Concrete Board
- Thin set mortar mix
Interested in a different look for your fireplace? No problem! Contact our professionals at Grand River Natural Stone to learn more about stone veneer and fireplaces.
How to Install Stone Veneer Over a Brick Fireplace
- Step One: Going over an existing fireplace requires one of two options. A polyurethane or urethane adhesive in tubes, or a thin set mortar mix. At Grand River Natural Stone, we recommend the thin set mortar, which is specifically designed for this type of application, and already includes epoxy adhesive binders.
- Step Two: Prior to installing your stone, you should ensure that the existing fireplace bricks are uniform, clean, and free of loose paint or particles. This will make installing the stone easier. If your brick is particularly porous, you will want to install metal lath or concrete board over it before following the next steps.
- If using metal lath, apply it horizontally, overlapping the edges, with the rough ‘cups’ pointing upwards (like a cheese grater).
- Step Three: Apply a scratch coat of mortar directly to the brick (or lath, or concrete board), ensuring that it is wet enough to form a proper bond. Also, be sure to apply enough pressure to the mortar to aid with adhesion.
- Step Four: Before adhering the veneer, you should create a plan for where each stone will go in the overall design, which will help you get a look you’ll be happy with. When selecting your veneer in the first place, try to avoid overly large or small stones. These can ruin the illusion that the stone is really holding up the fireplace. Once you have laid out your pieces, you can begin adding stone to the wall.
- Step Five: Apply a separate layer of mortar to the back of each stone. The layer should be a half-inch thick at a minimum. Adding more mortar at the edges is also useful as it can help the stone adhere.
- Step Six: Next, press each stone into place, keeping the joints a uniform thickness. Make sure to work from the corners inwards and alternating the long and short pieces on the corners. Install from the top down to prevent mortar from dripping onto your already adhered stones. However, if you’re dry stacking your veneer (no visible mortar joints) you can work from the bottom up.
- Step Seven: Depending on the style of stone that you have chosen you may need to fill the joints with mortar. You can pipe this in with a grout bag, and then as a finishing touch, strike the grout once firm to clean up the lines.
There are many more tricks you can learn to cut and place the stones more efficiently. Of course, you should be sure to follow the specific instructions from your stone manufacturer or supplier.
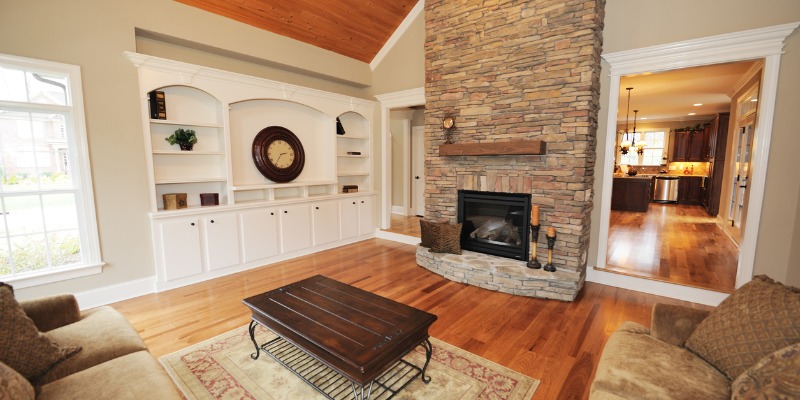
A fireplace is the center of your home in the winter. Update your brick fireplace with a stone veneer overlay to make it a more magical centerpiece. Find the materials and information you need to complete this project this winter. Contact us today.
Sources:
http://www.masonalstone.com/uploads/files/Masonal_Thin_Veneer_Guide.pdf